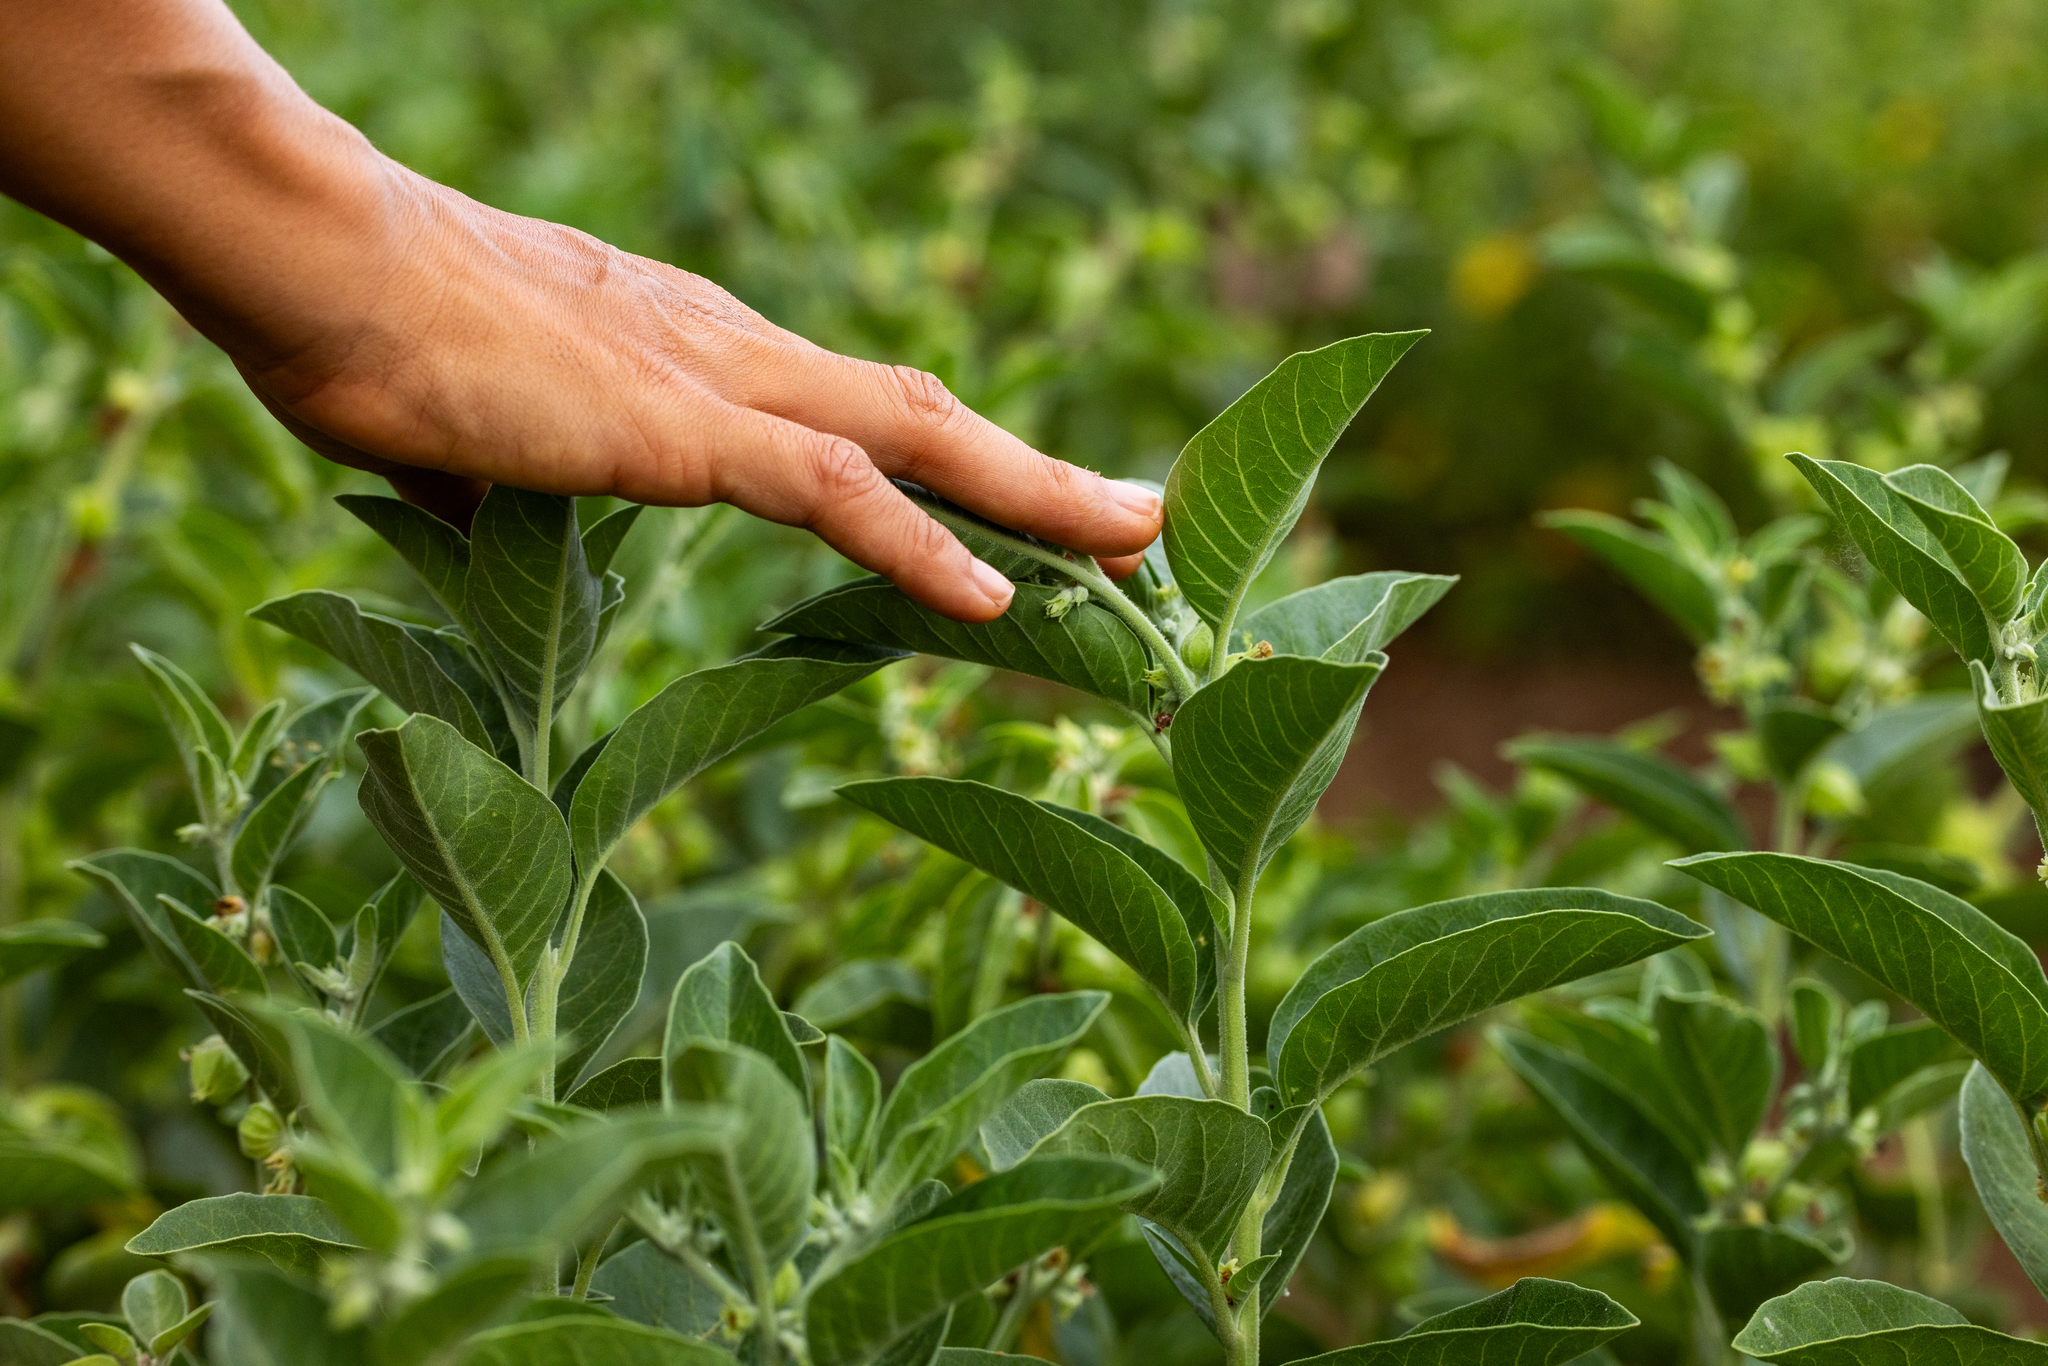
You want the best for yourself and your family, which is why it’s so important to understand where your herbs come from and how they’re grown, harvested, and processed. Here, we’ll look at how we grow Ashwagandha (Withania somnifera) – one of our favorite adaptogenic herbs– at our regenerative organic herb farm in Costa Rica. We use the Ashwagandha root and leaf to blend it as a powder into many of our products to help support your daily stress response.
This powerful plant goes on a fascinating journey before it ever reaches your home, starting from a tiny, carefully selected seed and evolving into a vibrant green plant that our farmers hand-harvest and process with the utmost care.
We invite you to come closer and explore Ashwagandha's journey from our Costa Rican soil to your cup.
It All Starts with the Soil (and Good Quality Seed)

The seeds set the foundation for top-quality herbs when growing any plant. We purchased our original Ashwagandha seeds from Richo Cech, founder of Strictly Medicinal Seeds in Williams, Oregon, which prides itself on providing organic, GMO-free, non-hybrid seeds. Now that our crops are established, we collect and save our own Ashwagandha seeds each year. Even though this step is more time-consuming, it ensures our seed collection is well-suited to our specific climate and growing conditions.
“I always say that when we're cultivating anything, it always starts with the soil, but it's also true that it depends on good quality seed," says Ric Scalzo, Kokora founder.

We start our Ashwagandha seeds in the greenhouse, where the tiny seedlings sprout within 14 days. After 6-8 weeks, our farmers transplant the delicate seedlings to outdoor raised beds piled high with nutrient-rich soil. We add our farm-made compost to the planting holes along with organic matter and Mountain Microorganisms (MM), a natural organic fertilizer we use to ensure good-quality microbiological activity. With raised beds and no tilling, the soil has more space for microorganisms to thrive, which is an important part of the regenerative farming process.
Growing Ashwagandha in raised beds is also helpful because it helps the roots grow abundantly straight and long without being obstructed by compacted soils.
"This is important for giving the roots a perfect structure in which to grow, and ensures that the structure of the soil stays porous for the roots to grow deep and develop properly over six months – and indeed they do!" says Ric.
Companion Planting with Sunn Hemp
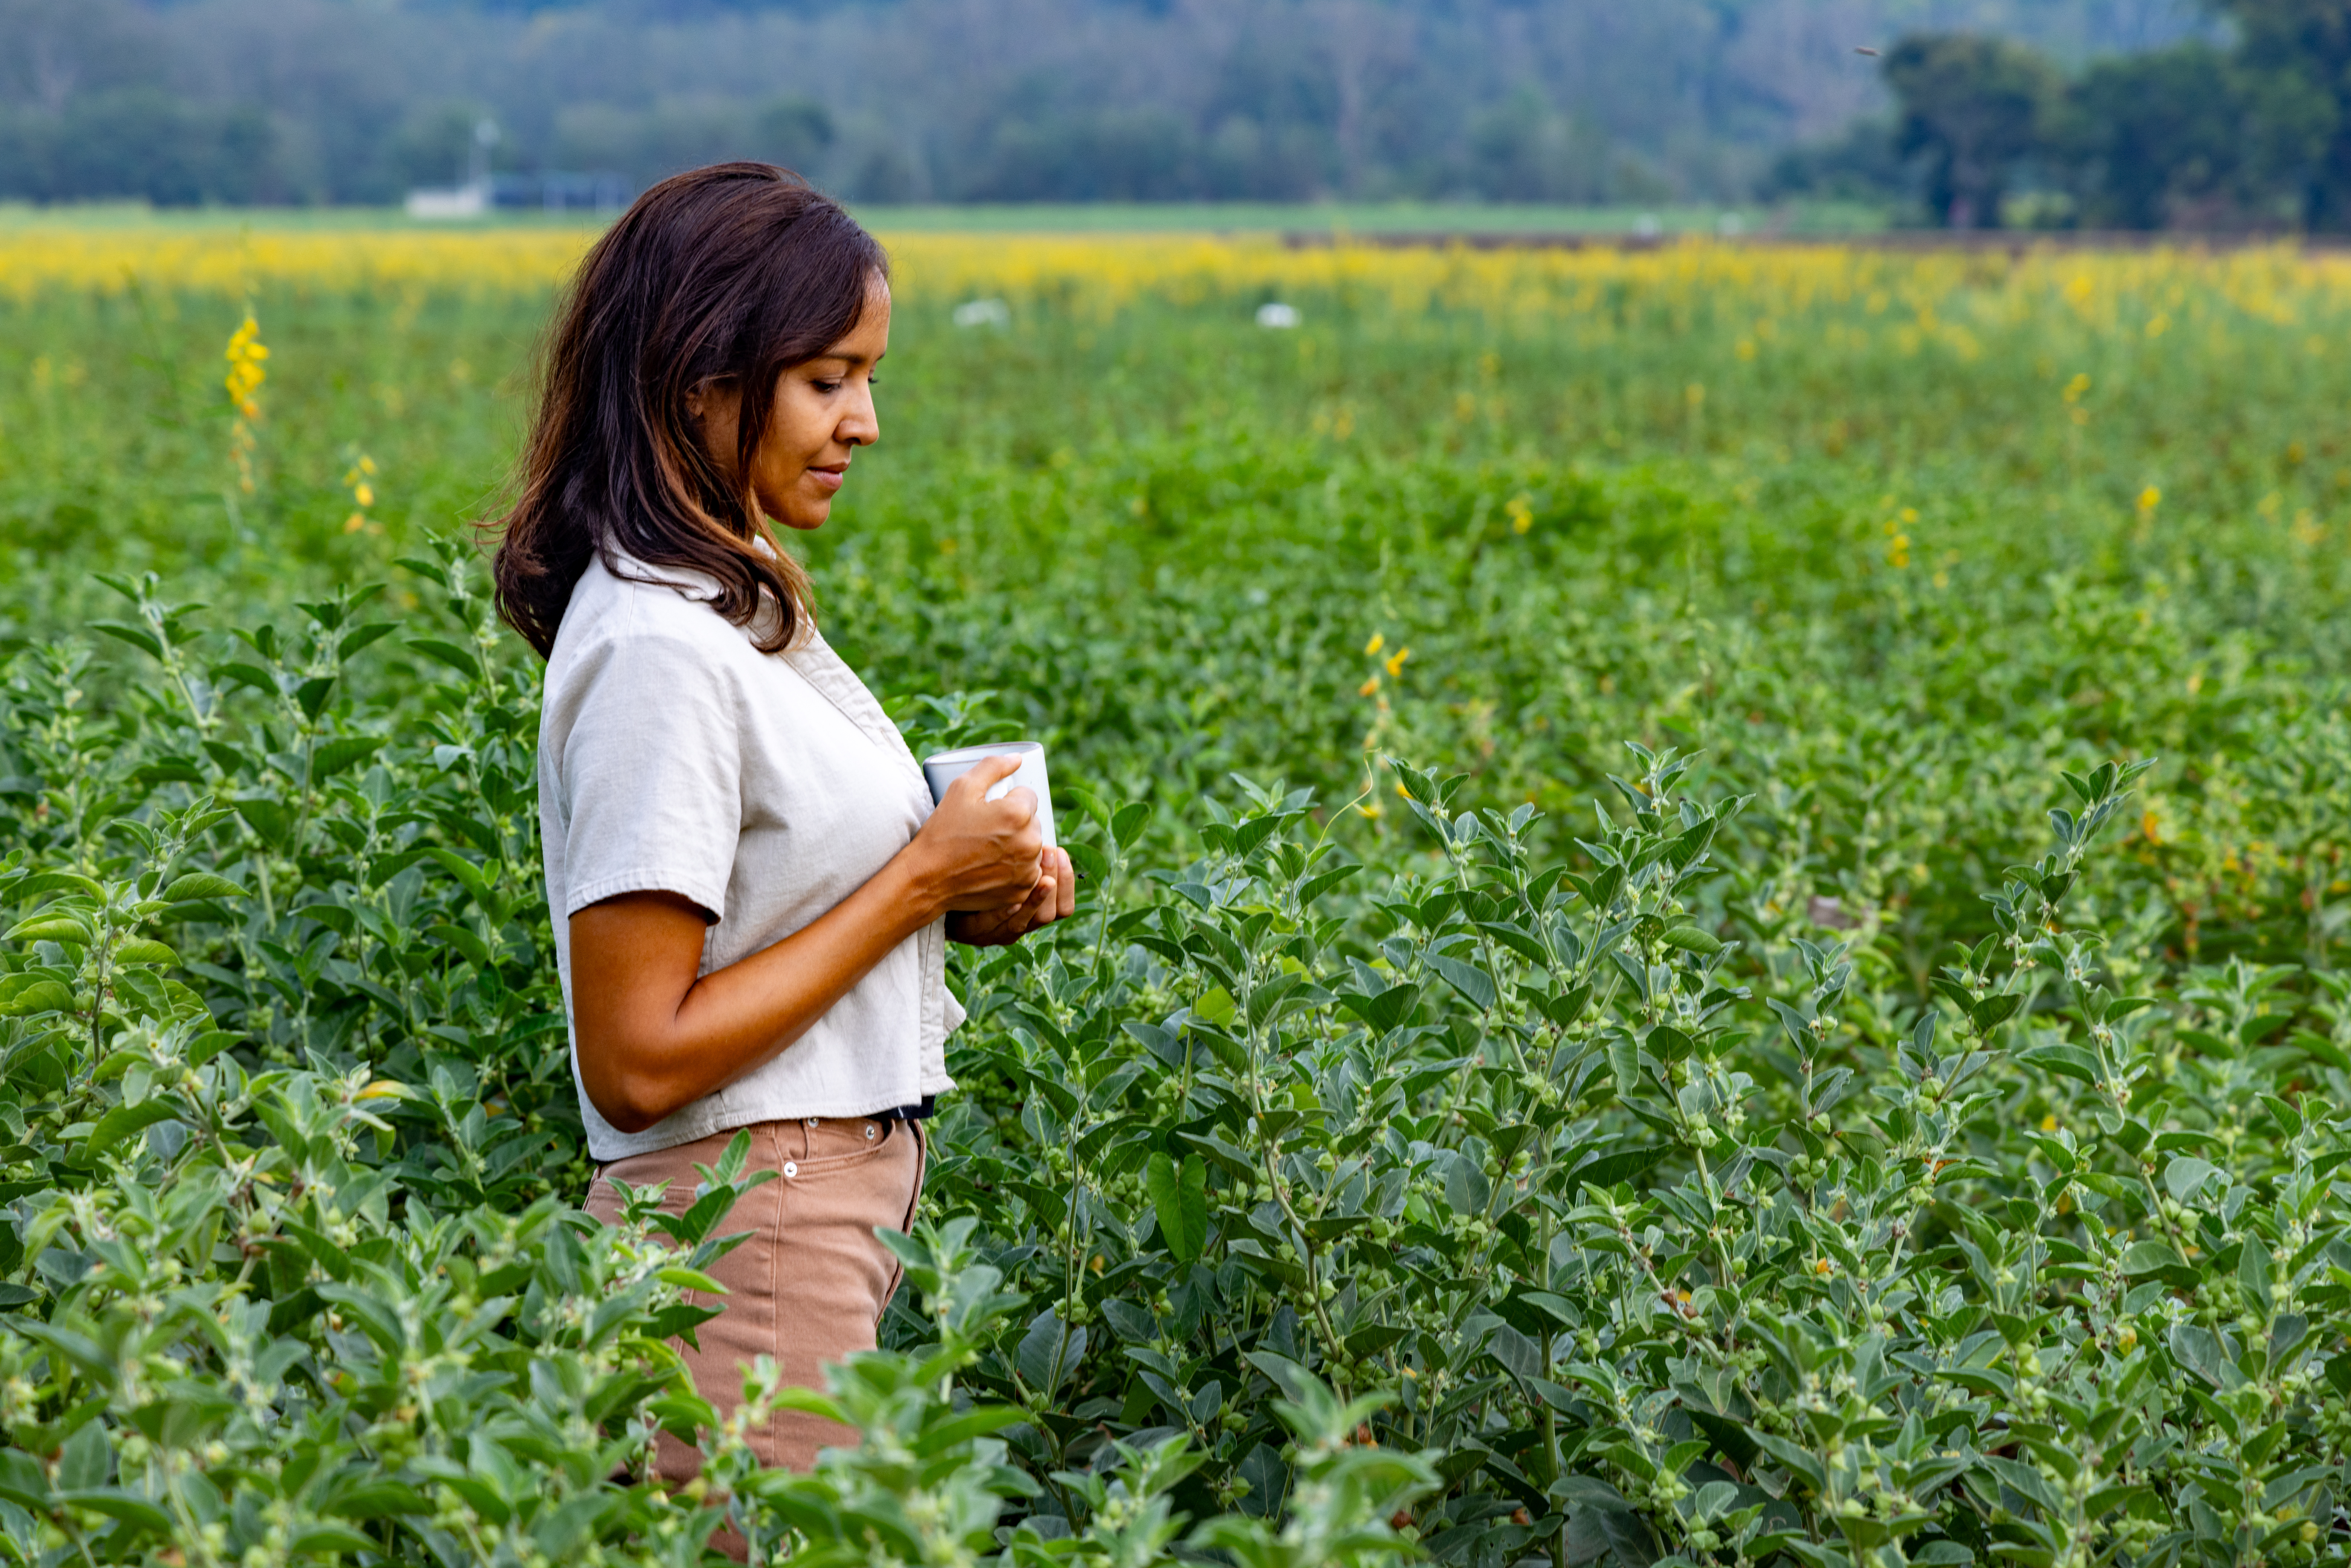
After the Ashwagandha seedlings are planted and established, we plant Sunn Hemp (Crotalaria juncea) seeds, a beautiful yellow flowering plant that provides shade and nitrogen for the Ashwagandha. The Sunn Hemp releases ammonium nitrate into the soil, which binds to the root structure of Ashwagandha, promoting a surge of growth, including phytonutrient levels. This celebration of the soil food web encourages fungi growth, beneficial bacteria, and higher nutrient activity.
Companion planting is one of the elements of regenerative organic farming that goes above and beyond organic cultivation to ensure the highest quality and nutrient-dense herbs.

Step 2: Harvest the Leaves and Roots
Growing Ashwagandha is unique here on our farm because we harvest the roots and leaves. Although a rare practice, we find that harvesting the leaves is essential as they carry the same biological profile as the roots by providing important phytonutrients such as withanolides. In fact, the leaves are ten times richer than the roots in terms of levels of withanolides, the main beneficial phytonutrients found in Ashwagandha. Harvested in early spring, beginning in March, we'll use Ashwaghanda’s verdant green leaves for our upcoming Regenerative Organic Certified® capsules in 2025.
By the end of June, when the leaves have all been harvested and the Ashwagandha plant begins to turn yellow, the vital energy returns to the roots until it's time to harvest them. At this point, the roots have grown to an astonishing 2-2.5 feet. We use a chisel plow to loosen the soil before we hand-harvest the plant. Once it's brought in to be cut and processed, we make sure not to scrub off the outer bark because much of the plant’s microbiological activity is concentrated there. We then cut the roots into 2-3 inch pieces, bring them to the dryer, and test them for microbial activity.
Due to the regenerative growing practices, we typically see very high levels of withanolides in our Ashwagandha root and leaf.
Any unused Ashwagandha parts are then returned to the compost pile, where they re-enter the soil food web.

Tips for Growing Ashwagandha at Home
If you want to grow your own Ashwagandha, you’re in luck! Ashwagandha is an easy plant to grow across the United States in temperate environments. Here are a few things to keep in mind when growing this beautiful adaptogenic herb in your garden:
- Use raised beds to allow the roots to grow deep.
- Familiarize yourself with Ashwagandha's common predators in your area, such as aphids, thrips, whiteflies, spider mites, mealybugs, scale insects, and nematodes. Talk to your local garden store to make (or purchase) natural treatments for pesky critters.
- Research the best times to plant and harvest Ashwagandha in your area.
Ready to experience the power of our regeneratively-grown Ashwagandha right in your cup? Visit our online store to peruse the many adaptogenic-packed Ashwagandha and Super Mushroom blends we offer.
If this post inspires your inner green thumb, sign up for our newsletter to receive 15% off your first purchase, and follow us on social media for daily wellness and regenerative gardening tips.
Read more
Learn how adaptogens like ashwagandha and beneficial mushrooms help create inner peace, restoration, and joy in a chaotic world.

Discover this traditional Golden Milk Bliss™ recipe with saffron, and learn the herbal benefits of this revered health beverage.

